
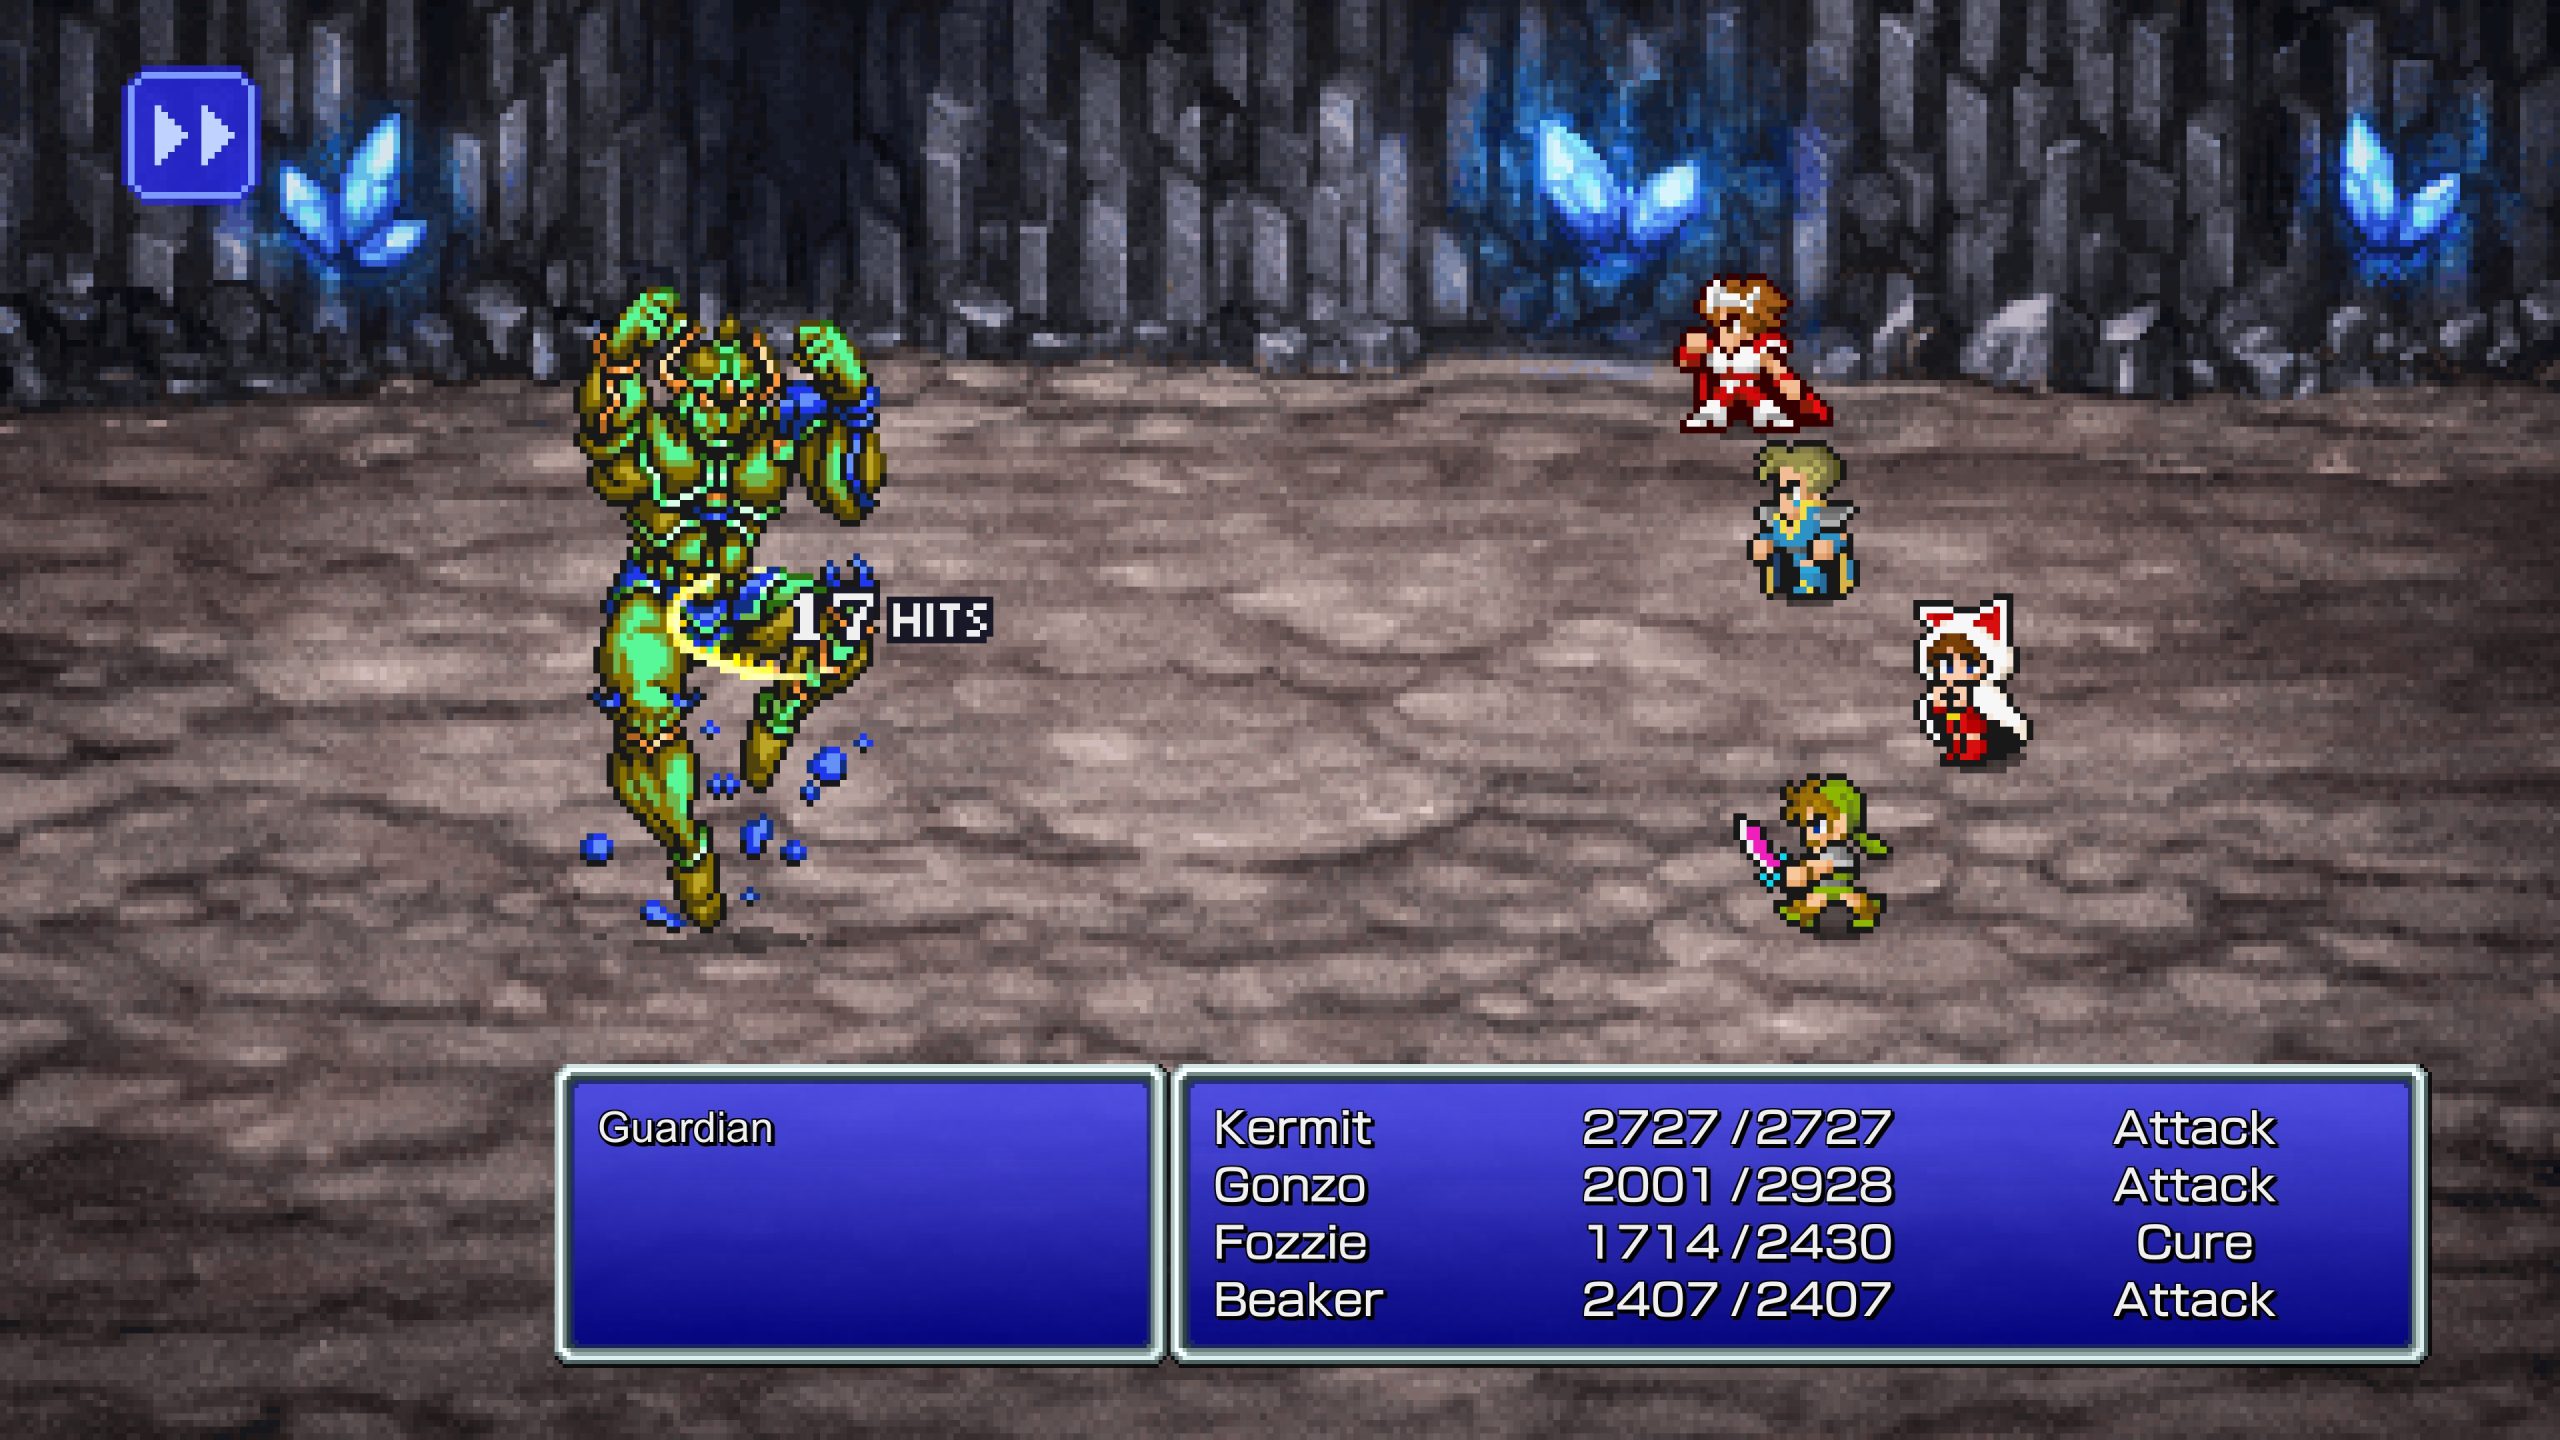
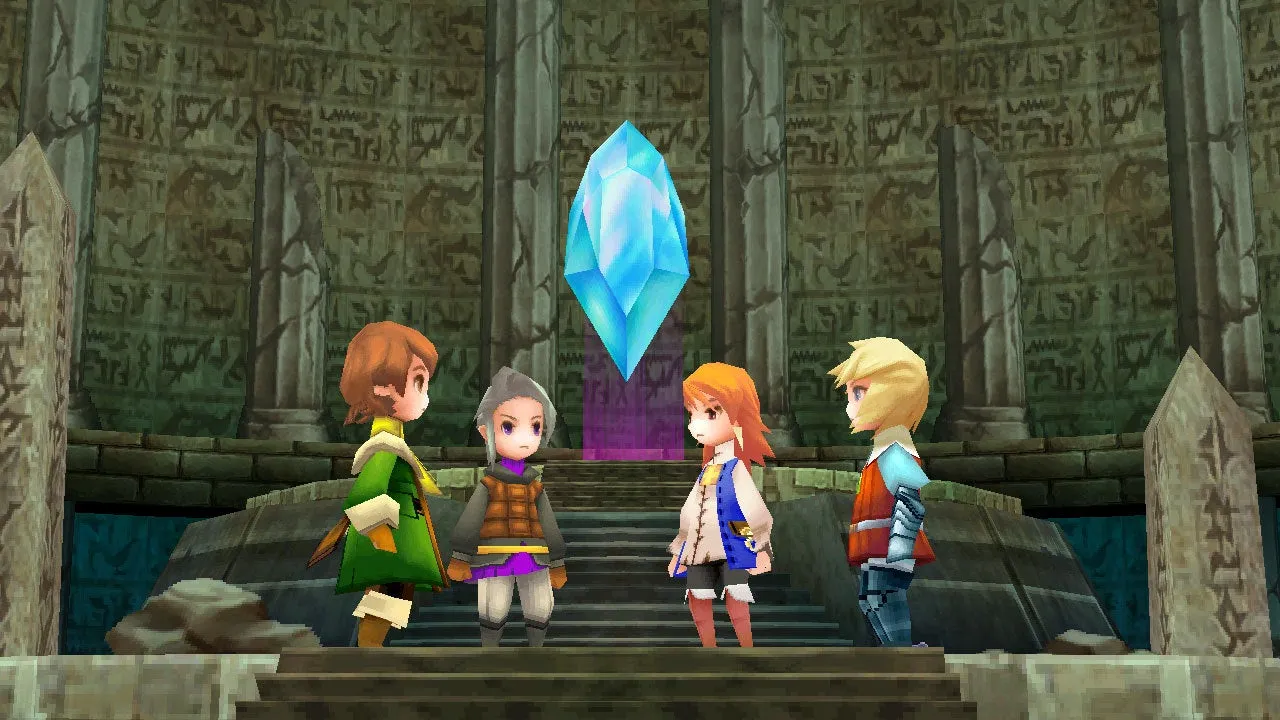
Four young orphans find themselves drawn into a mysterious cavern revealed by an earthquake. They run into monsters, and after making their way through, they encounter a crystal. A massive turtle attacks them just then, but they can defeat it.
This victory earns them the light of the Wind Crystal and grants them their first set of job abilities. When they get back to their village, they meet their foster father, Topapa. He tells them he suspects they are the Warriors of Light, and that their task is to find the remaining crystals.
 Their hometown welcomes heroes who might be the fabled Warriors of Light (Photo: Final Fantasy III/Chris Lee Productions, a subsidiary of Sony/Columbia Pictures, and Square Pictures)
But their journey is immediately blocked by a massive rock. The only known way to break it involves crashing an airship into it, but the only person capable of attaching a metal bow to the airship has been turned into a ghost—along with everyone else in the towns of Kazus and Sasune.
Djinn, a monster, is behind this. The King of Sasune reveals that Princess Sara has gone to seal Djinn. A ghost named Cid steps in and gives them access to his hidden airship located in the desert west of Kazus.
Sealing the Djinn and Moving Forward
Once inside the cave, the group teams up with Princess Sara. They defeat Djinn, and Sara throws him into sacred water in Sasune, turning the ghostly victims back into humans. Back in Kazus, the airship’s metal bow is finally fixed, and Cid joins them as they crash the airship into the rock, breaking it, but losing the airship in the process.
They then carry Cid to Caanan, where they heal his ailing wife, Mrs. Cid. Afterwards, they head east, scaling a mountain where they meet a dragon called Bahamut and a man named Desch, who has no memory of his past.
Small Forms and Sea Problems
After jumping down from the mountain, the group changes their forms to tiny sizes so they can pass through the Hidden Road in Tozus, a village where tiny people live. This leads them to the Vikings’ Cove, where the Vikings promise them a ship if they can settle the fury of a sea creature known as the Nepto Dragon.
Turning small again, they enter the statue of the Nepto Dragon in Nepto Temple and find the missing Crystal Eye. When they restore it to the statue, the Nepto Dragon calms down.
Destiny and Sacrifice at the Tower of Owen
In the devastated town of Tokkul, they meet the Gulgans—blind prophets who reveal that Desch’s future lies in the Tower of Owen, located to the east. Upon reaching the top of the tower, Desch regains his memories and realizes he is the tower’s guardian.
He gives his life to keep the Floating Continent suspended in the sky, and this sacrifice clears the whirlpool that had been preventing their progress.
Stealing Relics and Gutsco’s Defeat
Their next destination is the Dwarf Cave, where they find that two sacred relics, the Ice Horns, have been stolen by someone named Gutsco. After reclaiming the horns, Gutsco sneaks away with them again. The group pursues him into the Molten Cave, where he transforms into a creature called Salamander.
They manage to defeat him, reclaim the relics, and receive new job roles from the Fire Crystal. The dwarves then explain that they need to defeat Hein to save Tokkul.
Confronting Hein
Upon returning to Tokkul, Hein’s soldiers arrest them and take them to his castle. They break free from the dungeon and eventually defeat Hein in battle. After his death, Castle Hein reverts to its original form—a forest.
They then retrieve the Wheel of Time, an item that allows them to convert their ship into a new airship. With this airship, they reach a Shipwreck where they meet Aria Benett, the Maiden of Water. Aria lowers the water level in the Cave of Tides but gets hit by an arrow fired by Kraken.
The group avenges her by defeating Kraken and gains new job roles from the Water Crystal. At this point, the world becomes flooded, and their airship changes back into a ship.
Trouble with Goldor
During this time, someone named Goldor chains down their ship. To reach his manor, they require special footwear called Levigrass Shoes. Inside the sewers, they rescue Four Old Men who had been pretending to be the real Warriors of Light.
An old woman named Delilah gives them the shoes, allowing them to cross a swamp and reach Goldor Manor. They defeat Goldor, but he destroys what turns out to be a fake Earth Crystal. However, they manage to destroy the chain on their ship using an enchanted key left behind.
The Battle in Saronia
Taking flight once again, they head toward the country of Saronia but are brought down by anti-airship weaponry and land in the middle of a civil war. In a bar, they meet Alus, a boy who claims to be the prince but is being harassed by some rough men.
A fight breaks out, and Alus joins the group. They sneak into the castle, but during the night, King Gorn tries to kill Alus. It turns out the king had been under the control of his advisor, Gigametz, who revealed himself as the creature Garuda. After defeating him, King Gorn dies, and Alus becomes the new ruler of Saronia.

Revelations from Doga
The party receives the Nautilus, a faster airship, and heads to the home of a wizard named Doga. He tells them the actual threat is Xande, who had once studied alongside Doga and a woman called Unei under the archmage Noah.
 A cursed town and a ghostly mechanic set the stage for an airship mission (Photo: Final Fantasy III/Chris Lee Productions, a subsidiary of Sony/Columbia Pictures, and Square Pictures)
While Doga was given magical power and Unei control of the dream world, Xande was cursed with mortality. Fearing death, he tries to destroy the crystals to return the balance between light and darkness to the Void, where he believes he will be safe from death.
The group learns that to face Xande, they will need to enter the Crystal Tower.
Awakening Unei and Entering the Forbidden Land
Doga tasks them with retrieving Noah’s Lute to awaken Unei, which they find inside the Temple of Time. After using the lute to wake Unei, she leads them to the Invincible, a powerful airship. This allows them to enter the Cave of Shadows, where they collect the Earth Fang.
Using the four elemental fangs gathered across their adventure, they remove the statues blocking their path. Their journey brings them to Doga and Unei again, and to proceed, they must fight and defeat the two of them. This earns them keys required to access both the Crystal Tower and Eureka, a forbidden area.
Power Found in Eureka
Inside Eureka, they uncover two additional job classes—Ninja and Sage—possibly from broken shards of crystals. They also find five legendary weapons. When they reach the top of the Crystal Tower, they fall victim to a curse.
Cid’s ghost brings help in the form of Desch, Sara, Alus, and one of the Four Old Men, which breaks the curse. The party defeats Xande but then faces a new enemy, a creature known as the Cloud of Darkness.
Final Battle and Return Home
Crossing over into the Dark World, they free the Warriors of Darkness and restore the Dark Crystals. With help from the Dark Warriors, they overcome the Cloud of Darkness in battle.
Afterward, they use their airship to take Cid, Alus, Desch, and the Old Man back home, while Sara chooses to continue traveling with the party. Eventually, they all return to Ur, where they reunite with their loved ones.
